

07 Jun Improved Alerts and Notifications Available Now
Have you ever wished that you could customize REDCap to send yourself tailored notifications? Well, now you can with the new Alert & Notifications feature introduced in version 9.
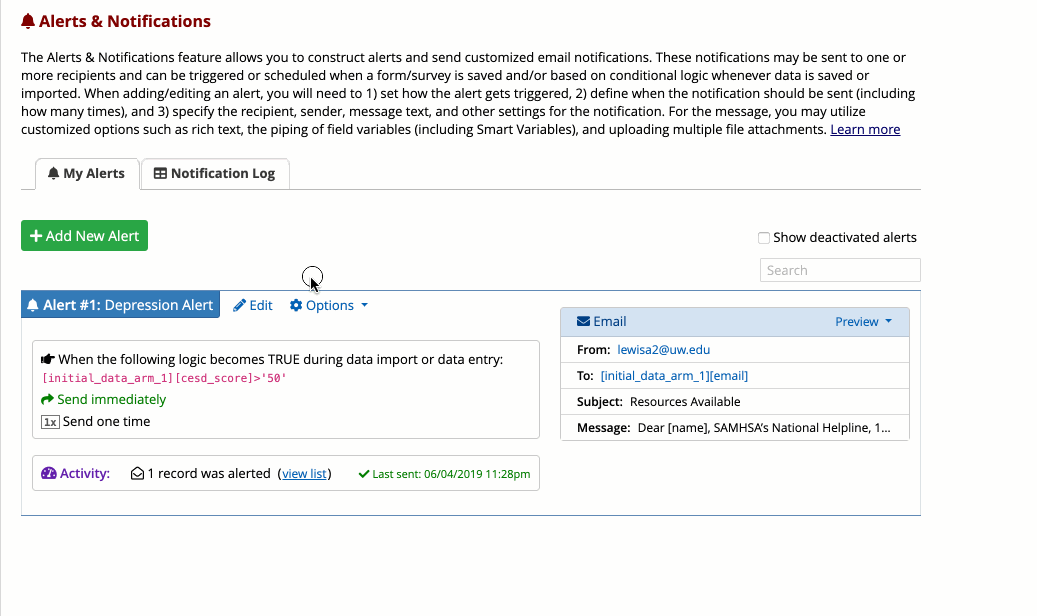
REDCap now has the Alerts and Notifications feature that allows you to create and send customized email notifications to your study staff, participants, or other collaborators with ease. This may sound similar to the Automated Survey Invitation (ASI) feature already in REDCap. However, this new feature allows for more flexibility. ASI allows a single alert to be used for a survey, whereas Alerts and Notifications allows for an unlimited number of alerts that can be used on both survey and data entry forms.
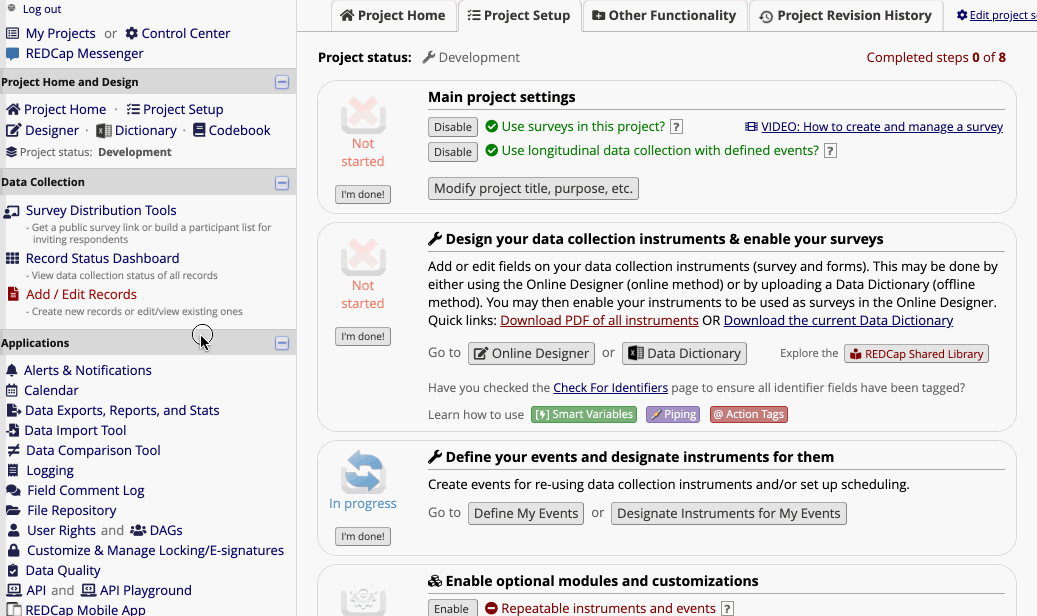
This feature will only be available to users that have “Project Design and Setup” rights for a project. If you have the proper rights, “Alerts and Notifications” is the first link located under “Applications” on the left-hand navigation menu.
Adding a new Alert
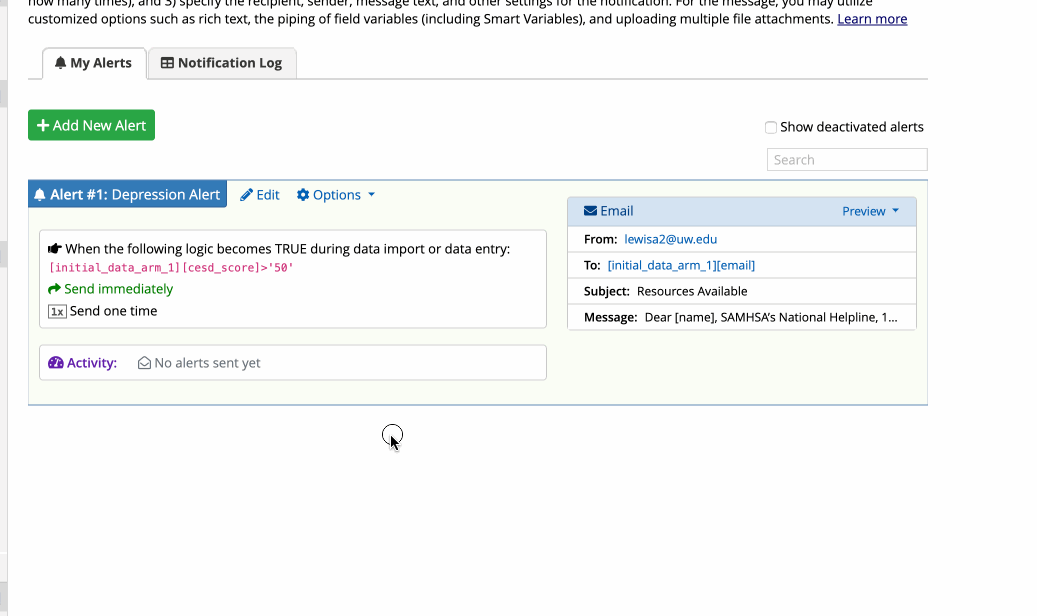
When you select the “Alerts and Notifications” link you will be able to add an alert by selecting “Add New Alert”. A pop up will appear with steps for adding a new alert.
Step 1: Choose what will trigger the alert. You can have it triggered by form/survey save, conditional logic, or both. If you select when a record is saved on a specific form/survey you will be able to select the form/survey from a dropdown that is populated from your project. If you select conditional logic a box will appear for you to input the logic statement. There is not an easy builder option like with branching logic or the report builder so you will be required to know some logic basics. ITHS provides branching logic classes that may benefit those wishing to learn more. Click on the following link for more information: https://www.iths.org/investigators/services/bmi/redcap/curriculum/rc-202/
Step 2: Will allow you to set how often you want the alert to go out. There is a broad variety of these to choose from including send immediately, send after a set amount of time, and send at specific date and time. You will also be able to choose if you would like the alert to be sent once or to repeat the alert.
Step 3: You will build the message settings that involve choosing the email from, email to*, subject, and message body. The message body does allow for piping and the use of smart variables. You can also add attachments if desired.
There is an optional field, which is an alert expiration. This is a good measure if you are using alerts that repeat indefinitely to stop after a certain deadline (i.e. Study expires June 1st, you can globally turn all alerts off).
Once you select “Save”, your alert will immediately become active and may be triggered at any time thereafter.
Video Guidance
Deactivating an Alert
You can deactivate an alert by selecting “options” for the alert in question and selecting “deactivate alert” from the drop-down. This will stop new alerts from being sent as well as stop repeat alerts.
Video Guidance
Notification Log
The secondary tab in the Alerts and Notification page will be the “Notification Log”. This will allow you to see all past and future email alerts. This will also allow you to apply filters to display specific alerts, specific records, or time limits.
Video Guidance
*Note: Only whitelisted email domains will be allowed to be written into the “manually enter email” section. If you need an email domain whitelisted, please contact the REDCap Administrator at iths_redcap_admin@uw.edu

")

